BlueStacks App Player users want to be sure that their games work stably and that their computer can give the best performance. To do this, you need to activate the virtualization engine. But sometimes BlueStacks won’t activate it for some reason. Let’s see how to solve this issue.
- What is virtualization in BlueStacks
- BlueStacks could not start the engine
- How to solve the problem
- Temporary disabling of antivirus
- Switching to from OpelGL to DirectX, allocating more cores and RAM
- Computer does not support the technology
- Enabling hardware virtualization
- Reinstalling BlueStacks
- What to do if nothing helps
What is virtualization in BlueStacks
To understand why BlueStacks won’t start on Windows, we need to learn something about virtualization. The virtualization engine is a software platform developed originally for Intel processors and then appeared on AMD.
Virtualization provides a set of RAM computing resources to a specific application so that it can use the computer’s maximum capabilities. It is done to improve performance and optimize the process of interaction with the software.
BlueStacks could not start the engine
Sometimes BlueStacks won’t start, and you see a warning on the screen.

When a BlueStacks App Player fails to the virtualization engine, it happens for one of the following reasons:
- The PC does not meet the minimum system requirements of the emulator.
- The computer does not have the virtualization feature.
- The technology is disabled in the BIOS settings.
- BlueStacks is blocked by anti-virus.
- Emulator settings malfunction.
Despite this large number of reasons, any problem with the engine can be solved in a matter of minutes.
How to solve the problem
If BlueStacks won’t start the virtualization engine, the first thing to do is to check if your PC meets the system requirements. If it doesn’t, it is perfectly logical that BlueStacks does not start.
Temporary disabling of antivirus
The next thing to do if BlueStacks does not start is to temporarily disable antivirus. It probably recognizes the emulator as malware and therefore blocks it by mistake.
Switching to from OpelGL to DirectX, allocating more cores and RAM
If deactivating antivirus didn’t help, open the BlueStacks settings.

Go to “Graphics” (BlueStacks 5) or “Engine” (BlueStacks 4).

Select DirectX instead of OpenGL graphics display mode here.
CPU and memory allocating can be found in the same “Engine” section (BlueStacks 4) or in “Performance” (BlueStacks 5).

After restarting BlueStacks, the virtualization engine starts. If that doesn’t help either, go to the next step.
Computer does not support the technology
It is possible that the BlueStacks virtualization engine does not start simply because the computer does not support the corresponding function. You can check whether this is actually the case through special software, the choice of which depends on the brand of the computer’s processor.
For Intel:
- Download and install the Intel Processor Identification utility.
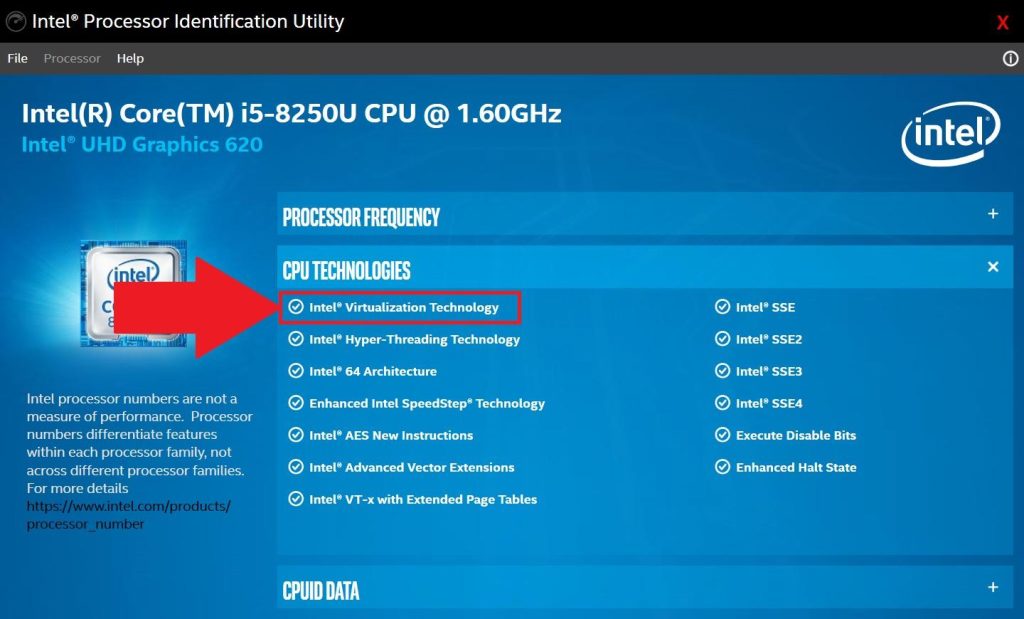
- Run the program, and then click the “CPU Technologies” button.
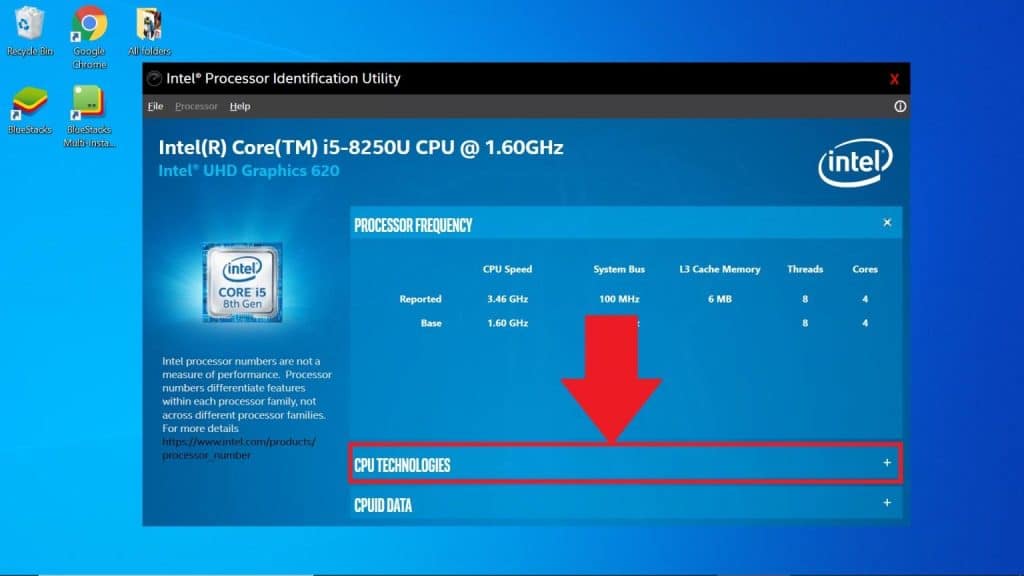
- Check for Intel® Virtualization Technology in the list.


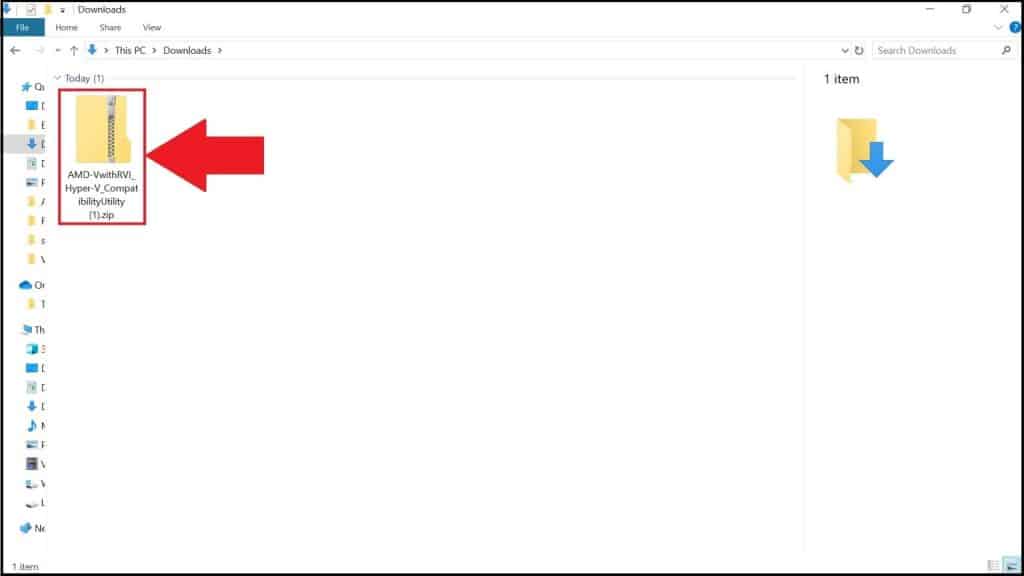
For AMD:
- Download AMD-V Detection.
- Unzip the archive.
- Run the exe file contained in the folder.
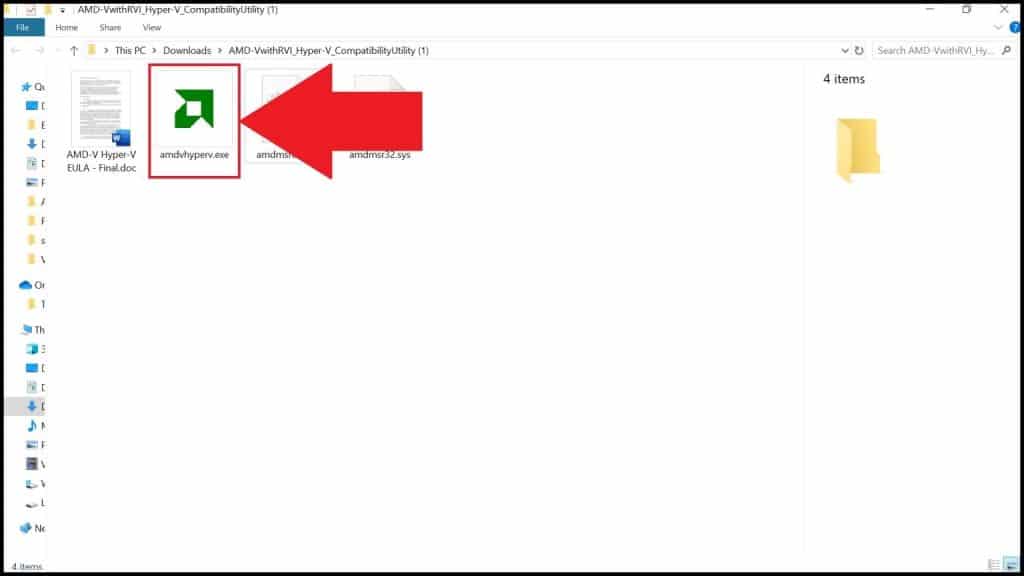
- Study the information about technology support.
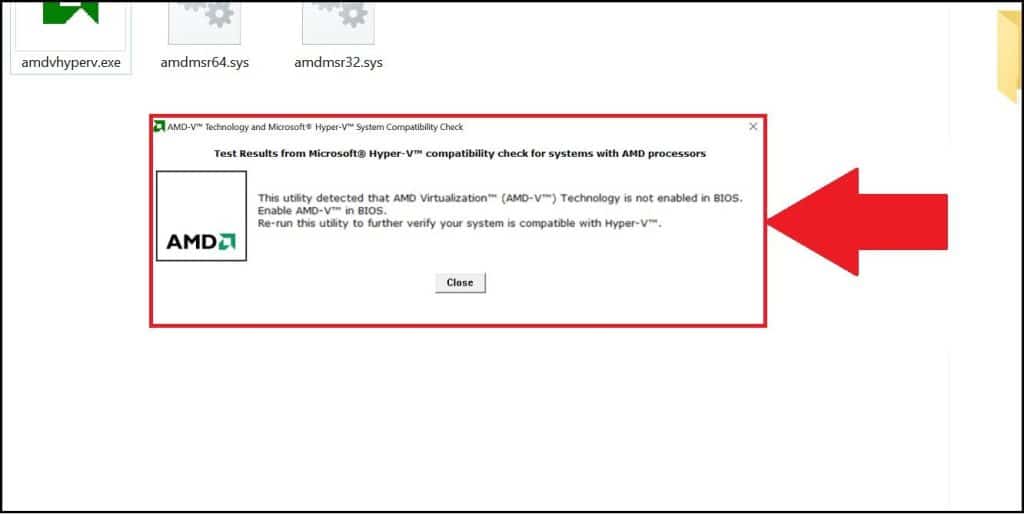


If there is no compatibility, you cannot enable hardware virtualization. At this point, you can stop looking for a solution to the problem. If the technology is supported, use alternative error correction methods.
Enabling hardware virtualization
If the BlueStacks virtualization engine on Windows does not start, it is likely that the function is disabled in the BIOS settings. To confirm or disprove the guess, you need to open the BIOS:
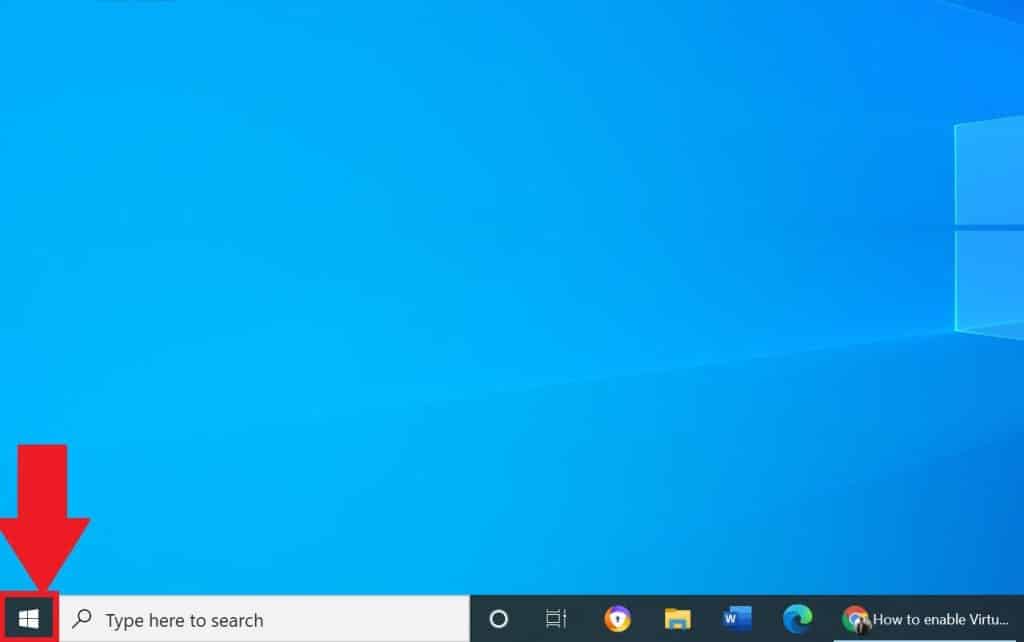
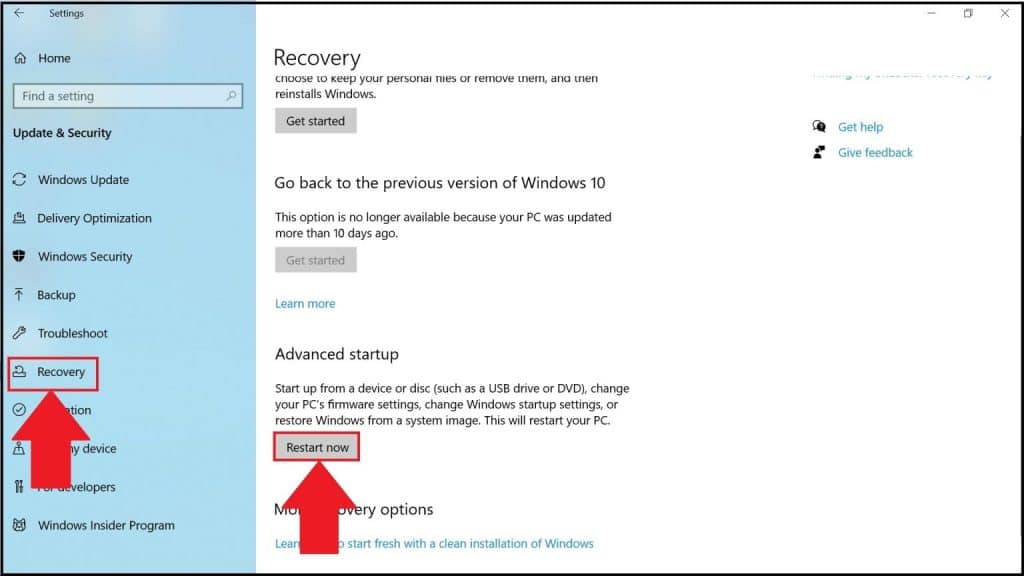
- Click on the Start button in Windows.
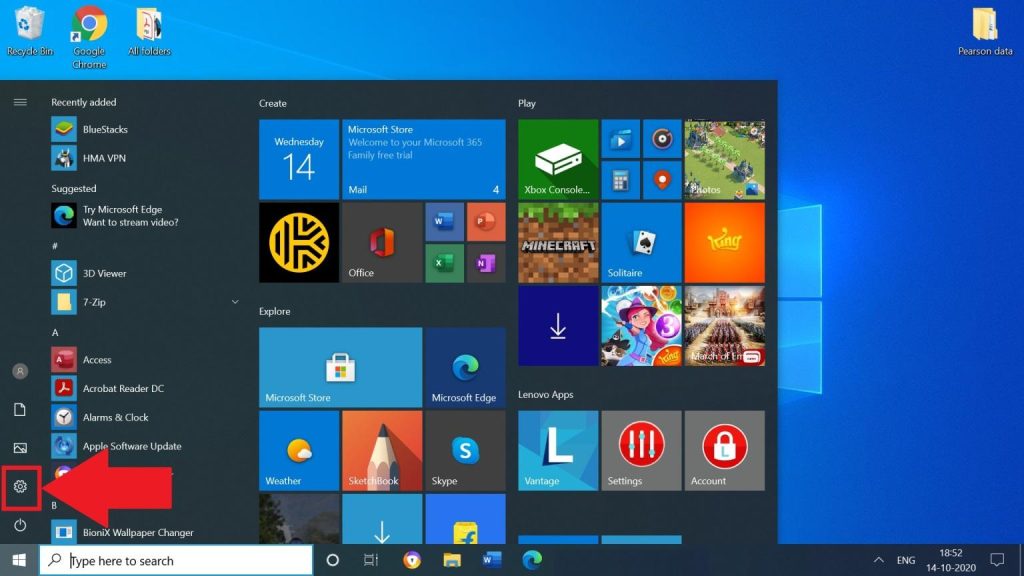
- Go to Settings.
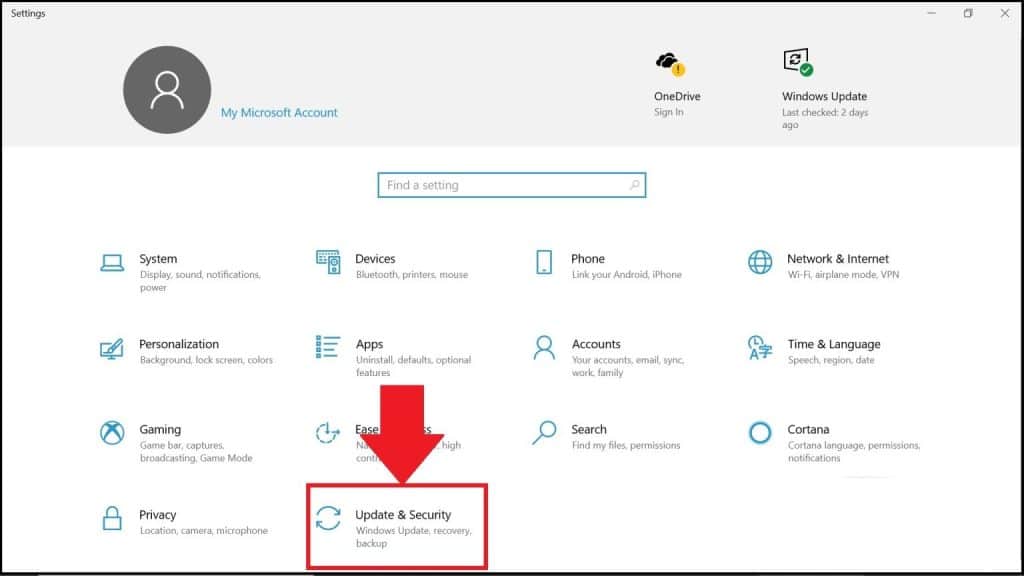
- Go to “Update and security.”
- In the Recovery tab, click Restart Now.
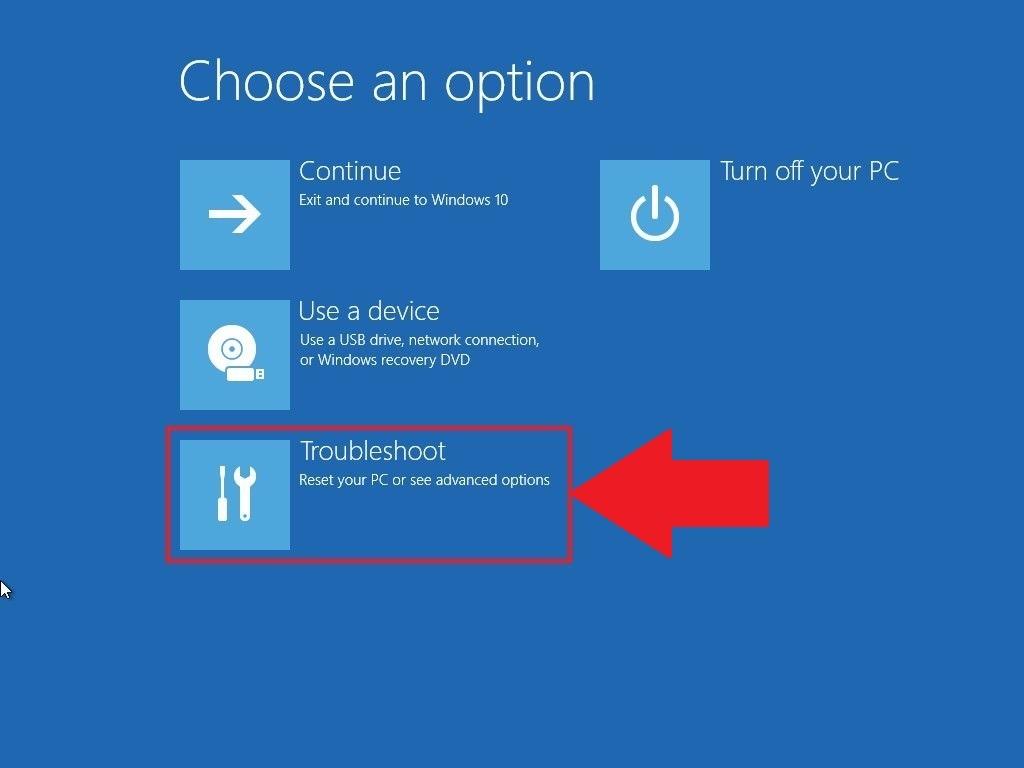
- Select the Troubleshooting option.
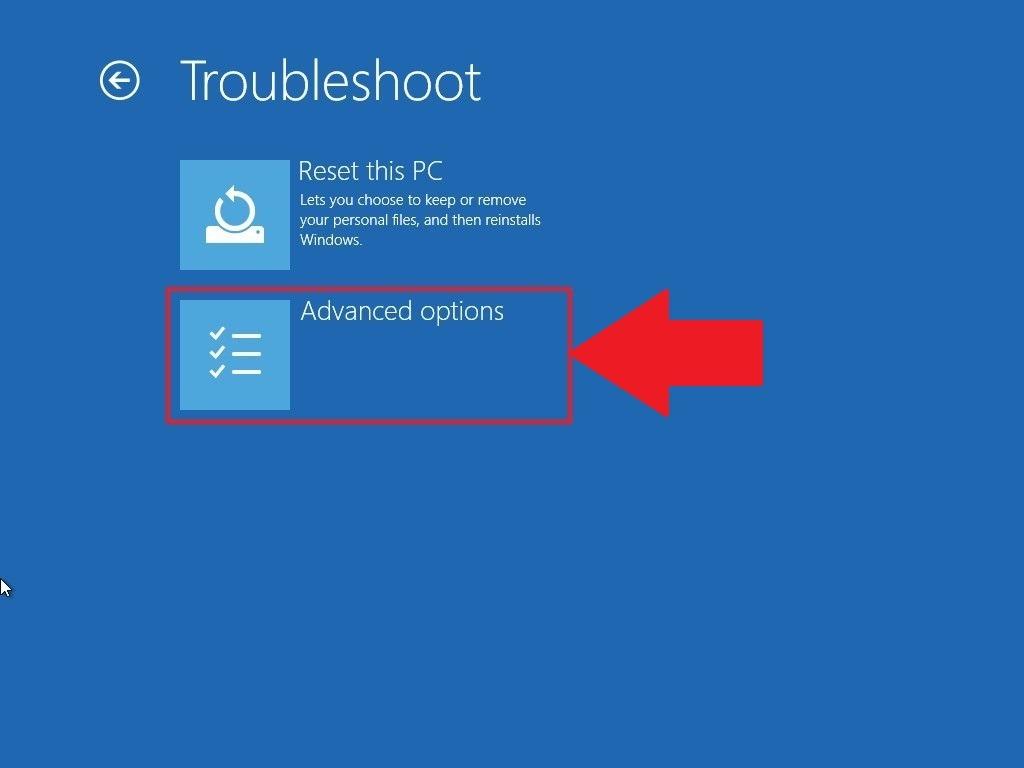
- Open the “Advanced Options.”
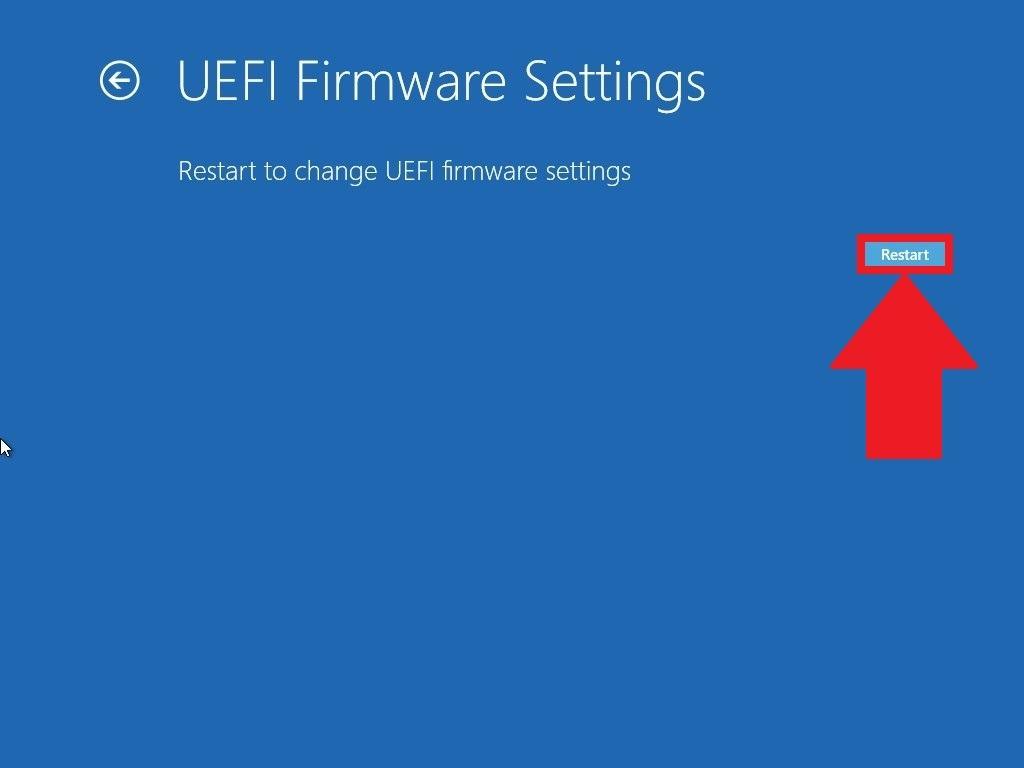
- Click “UEFI Firmware Settings.”
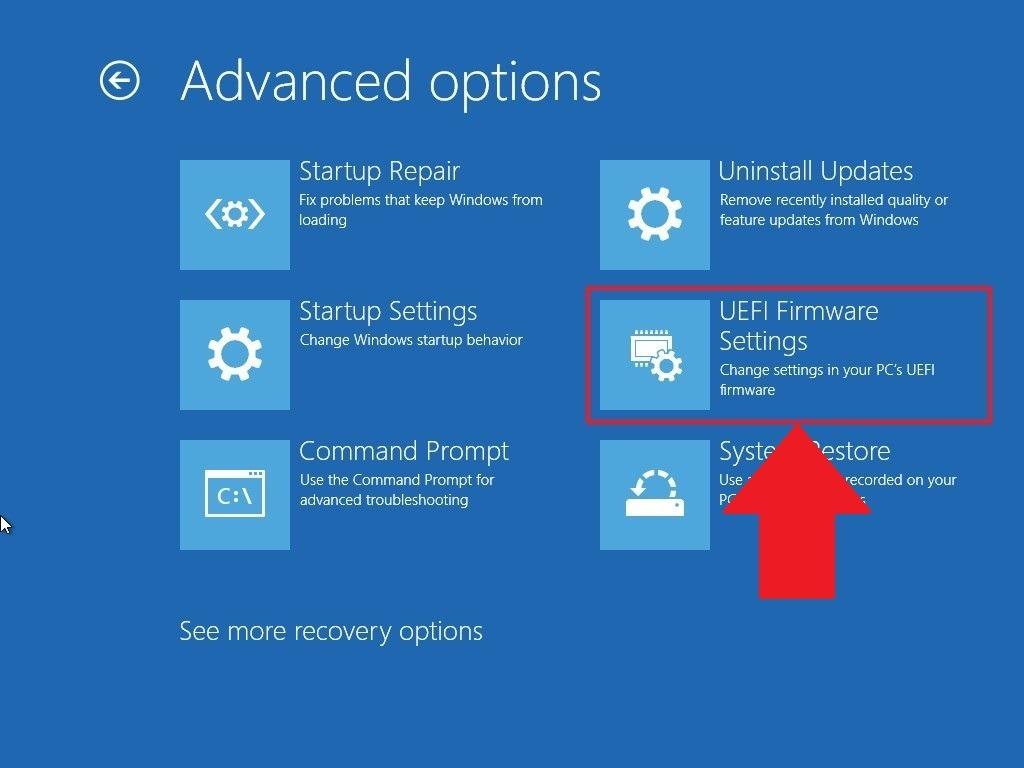
- Press the restart button.


Further steps are going to differ depending on your processor type.
For Intel:
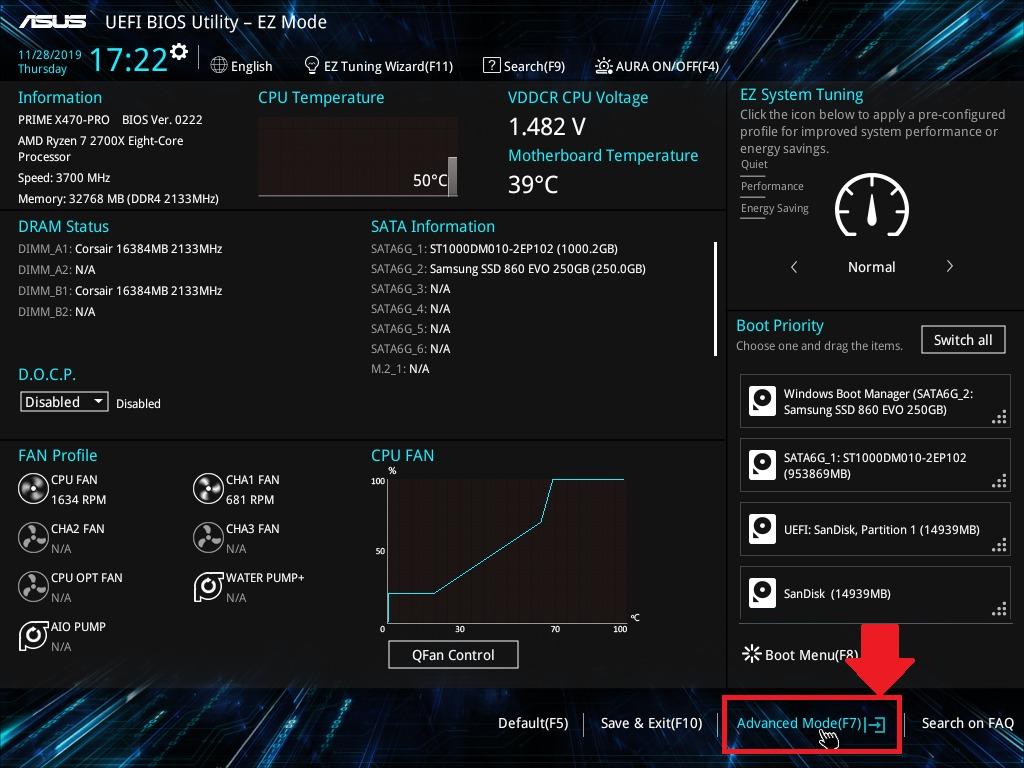
- Press F7.
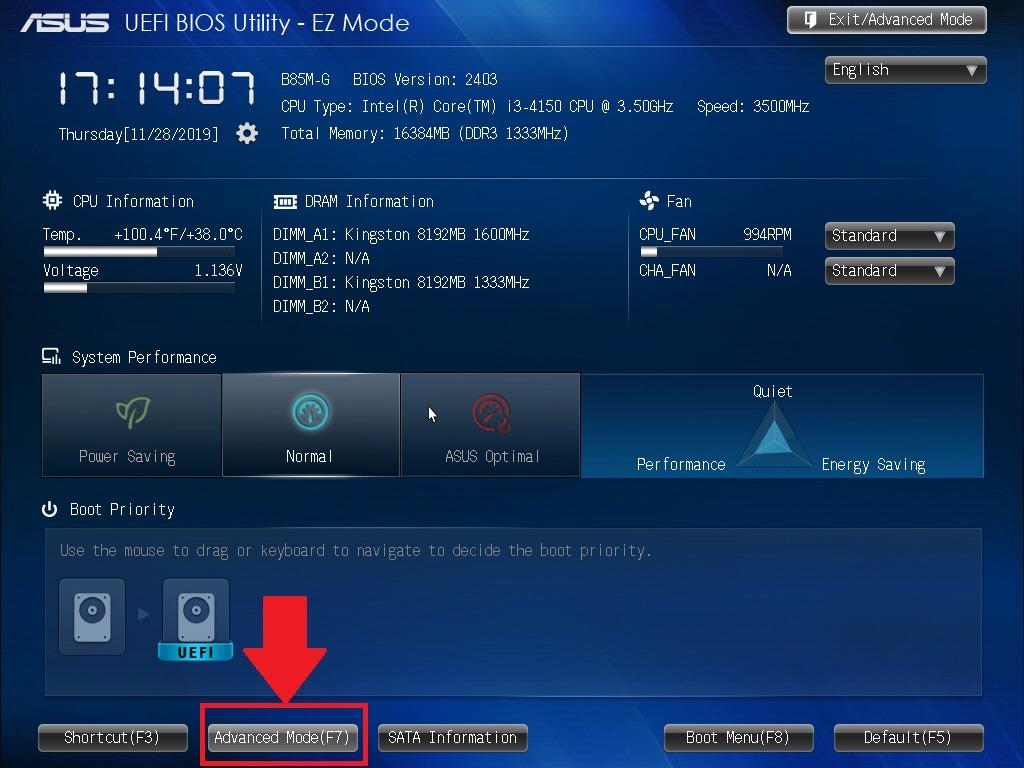
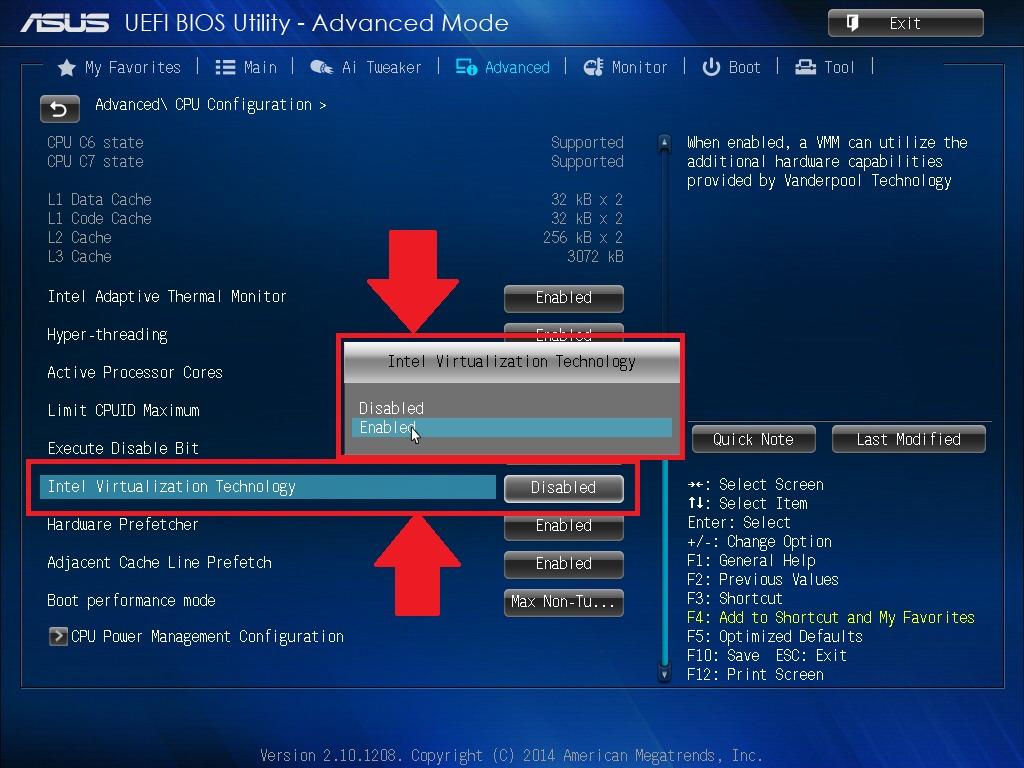
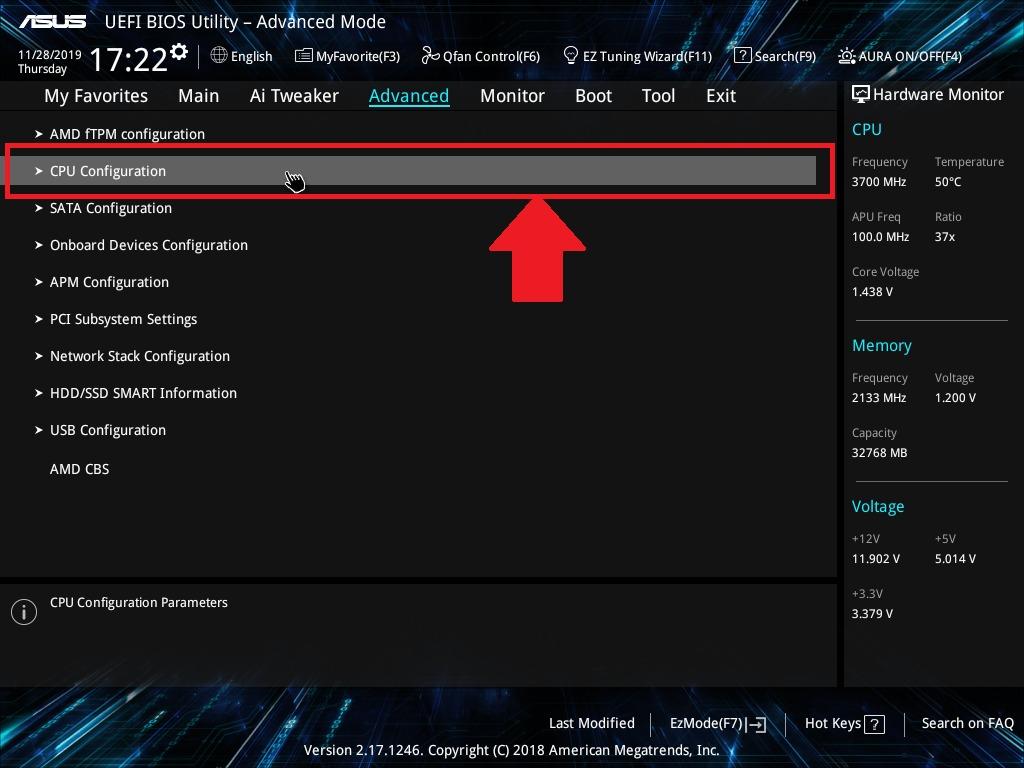
- Go to “Advanced”.
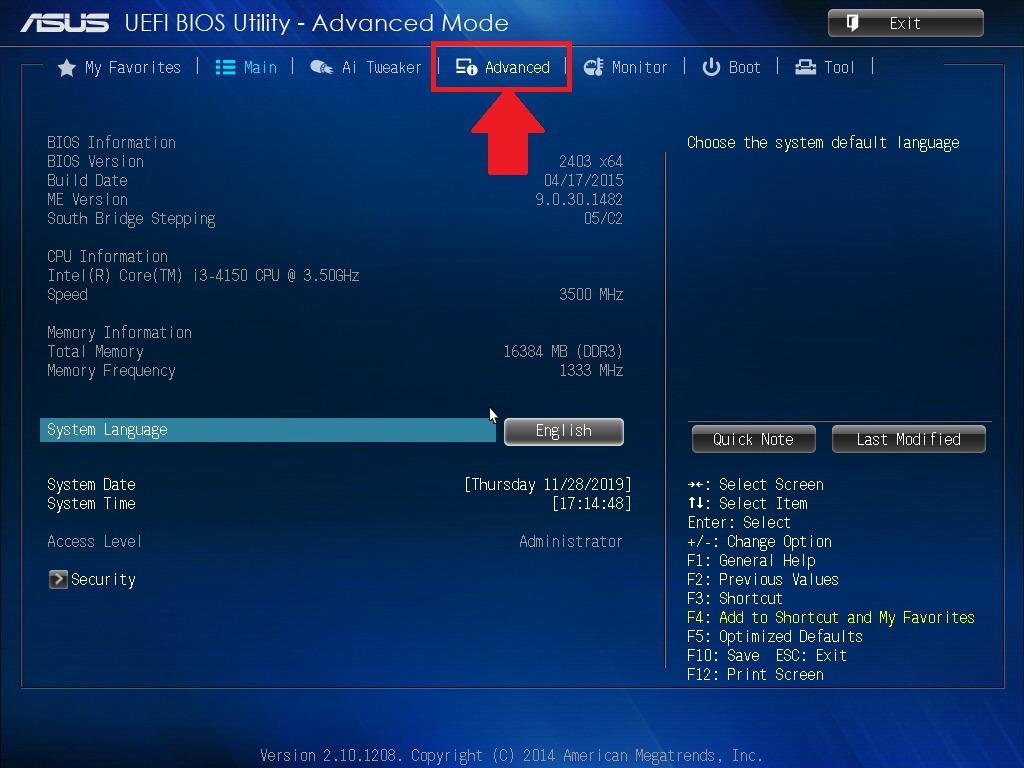
- Select “CPU Configuration”.
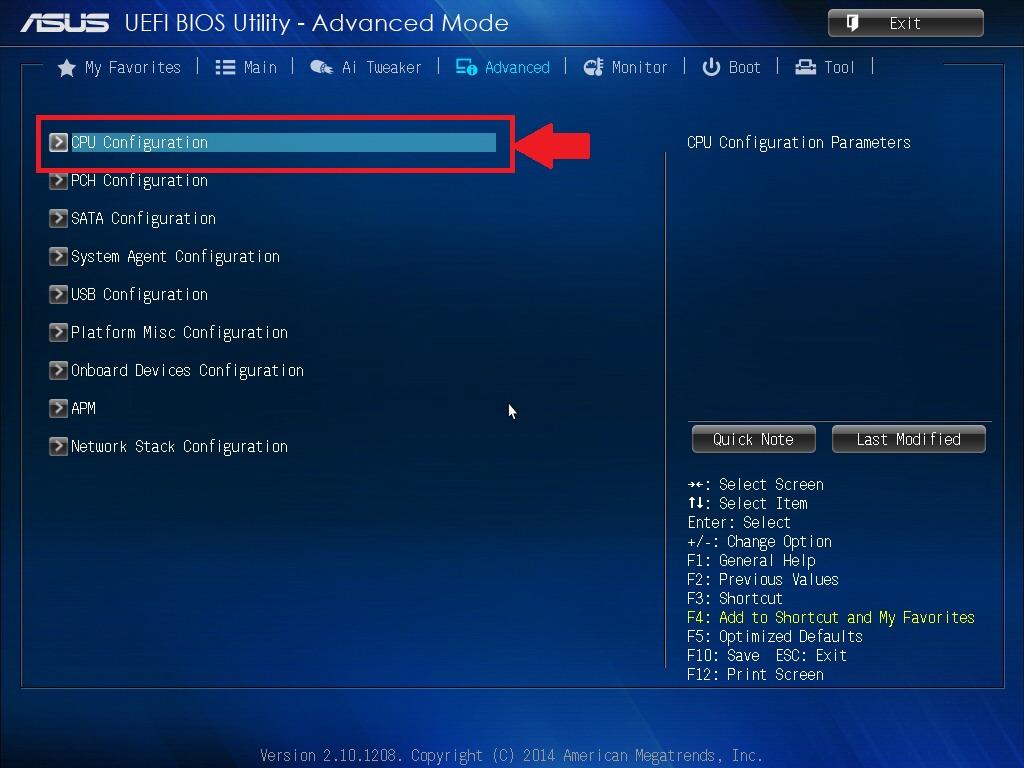
- Set the “Intel Virtualization Technology” option to “Enabled”.
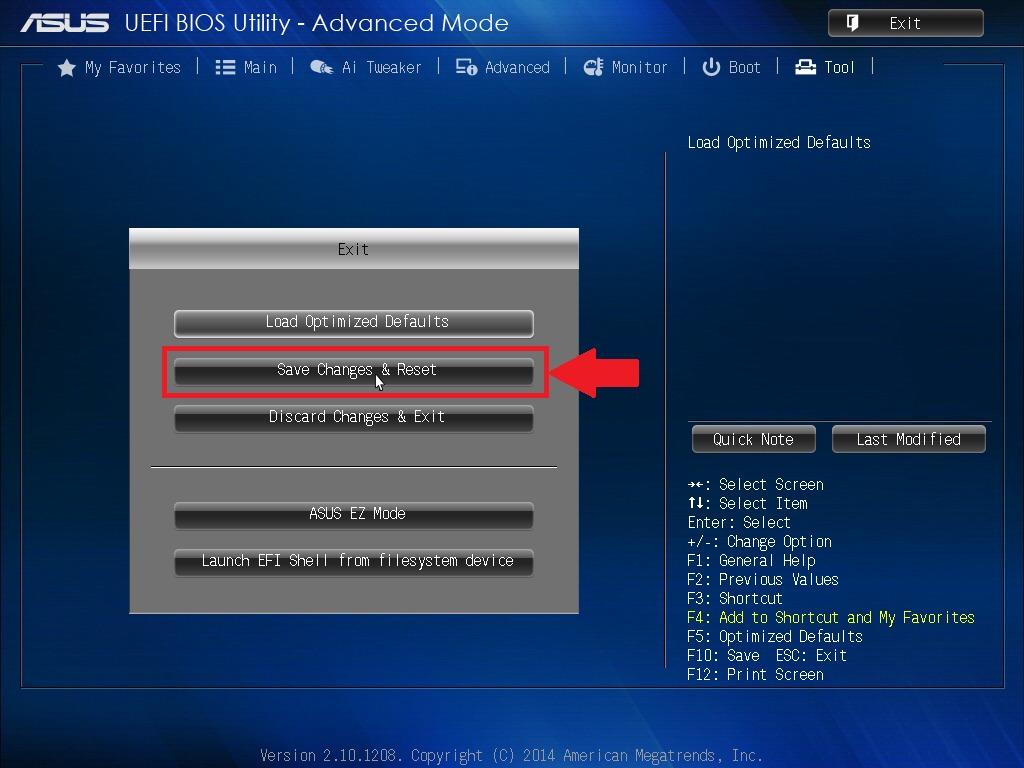
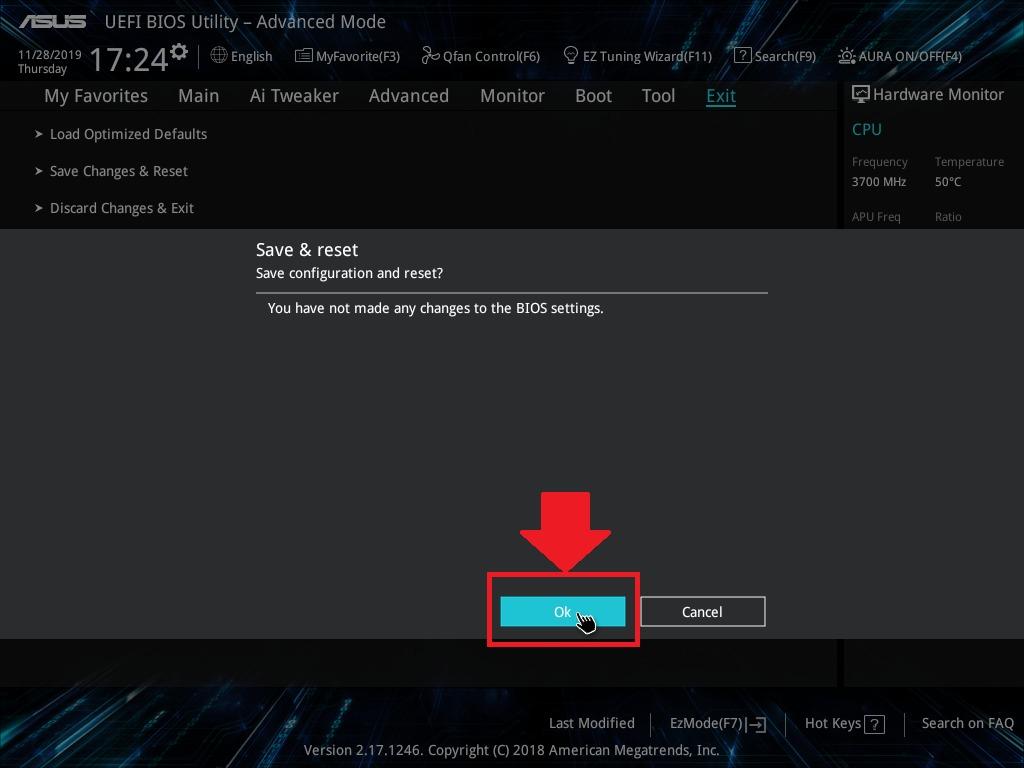
- Save the changes when exiting the BIOS settings.


For AMD:
- Press F7.
- Open Advanced.
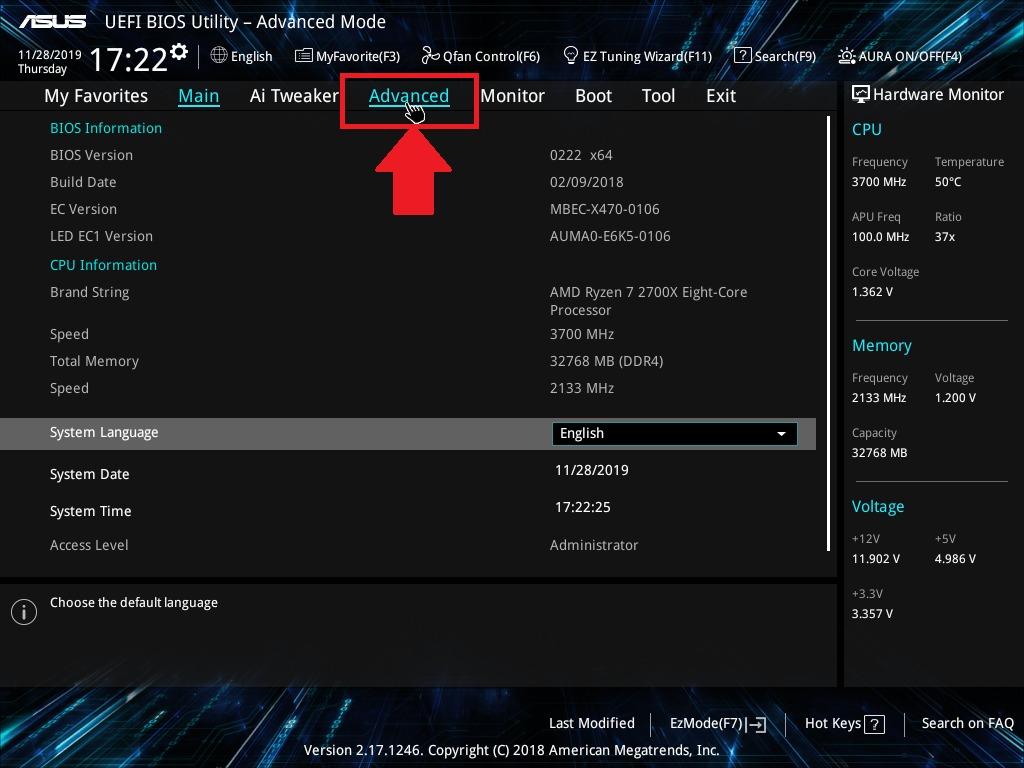
- Go to “CPU Configuration”.
- Activate the “SVM Mode” option.
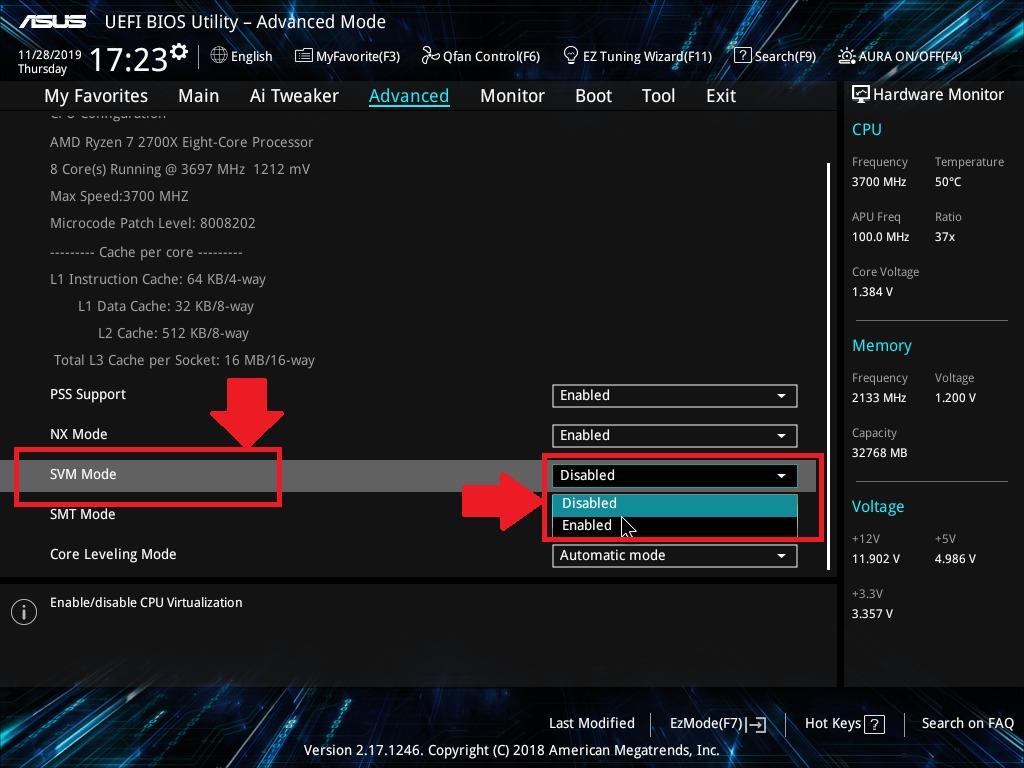
- Leave the BIOS and save the settings.


By following these steps, you will be able to activate the BlueStacks virtualization engine on the hardware level. Then enable the function in the emulator settings.
Reinstalling BlueStacks
If you’re still unable to run the BlueStacks virtualization engine for Windows, you could reinstall the software. Uninstall BlueStacks:
- Press the Start button in Windows.
- Go to Settings.

- Open Apps – Apps & features.

- Find Bluestacks App Player in the list.
- Click on the application and select Uninstall.

Then download a BlueStacks installation file (not necessarily the latest version, maybe one of the older versions like 4 or 3 would do better for your PC), and install it.
What to do if nothing helps
Radical measures should be taken only if none of the tried and tested methods helped. Do you feel you are in a similar situation? Then you will need to roll back the system to one of the previous restore points:
- Open the “Run” window by pressing Win+R.
- Enter the query “Control panel”.
- Go to the “Recovery” section, and press OK.
- Click on the “Open System Restore” heading.
- Click Next.
- Select a restore point.
- Wait for the operation to complete.
You may lose some applications after returning to the restore point. However, any issues, including those related to virtualization, should be corrected.


