How to transfer Chrome extensions to another computer without losing anything? Depending on your situation, whether you’re using the same Google account on both computer or not, the best choice might be either to simply turn on sync on both devices or copy the extensions using .crx files.
Turn on sync
If you are using the same Google account on both PCs, you only need to turn on sync to transfer extensions:
- launch Chrome and sign in to your Google account on the first computer,
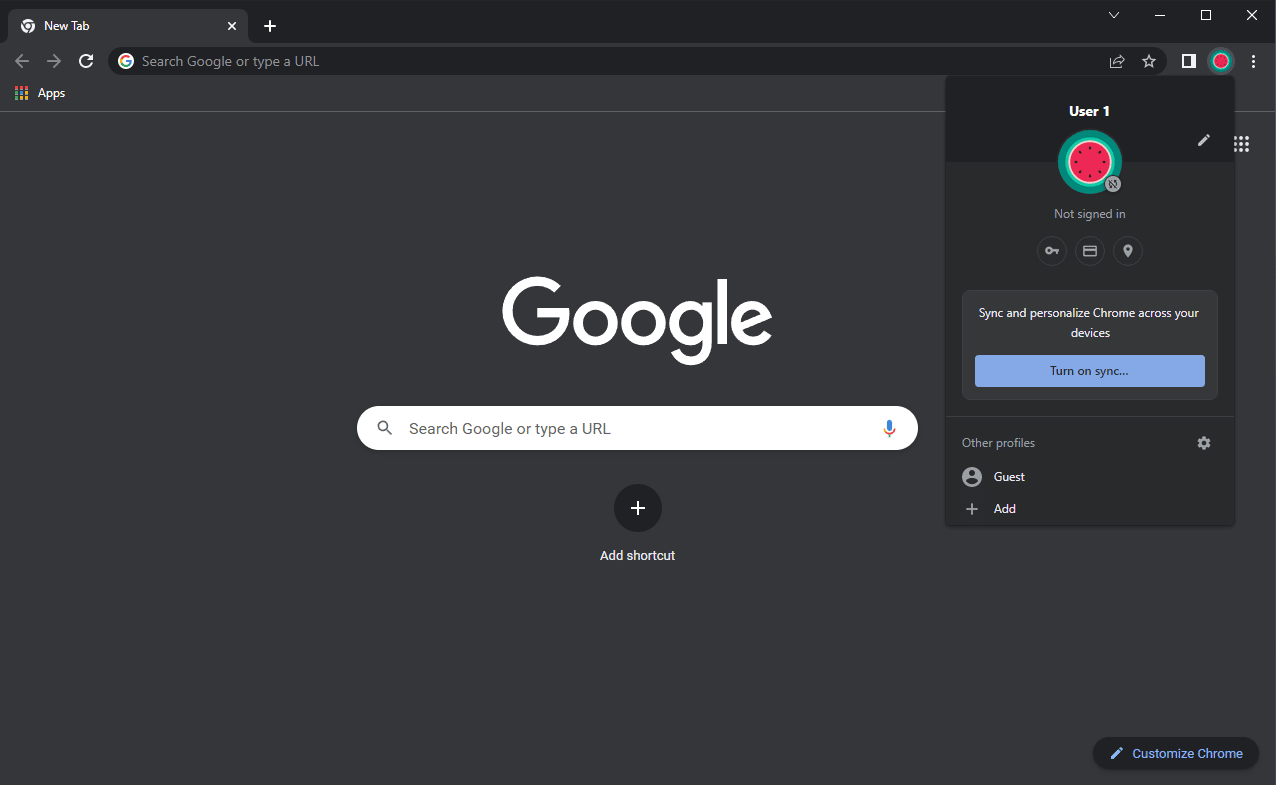
- click on your avatar in the top right corner,
- press “Turn on sync”,
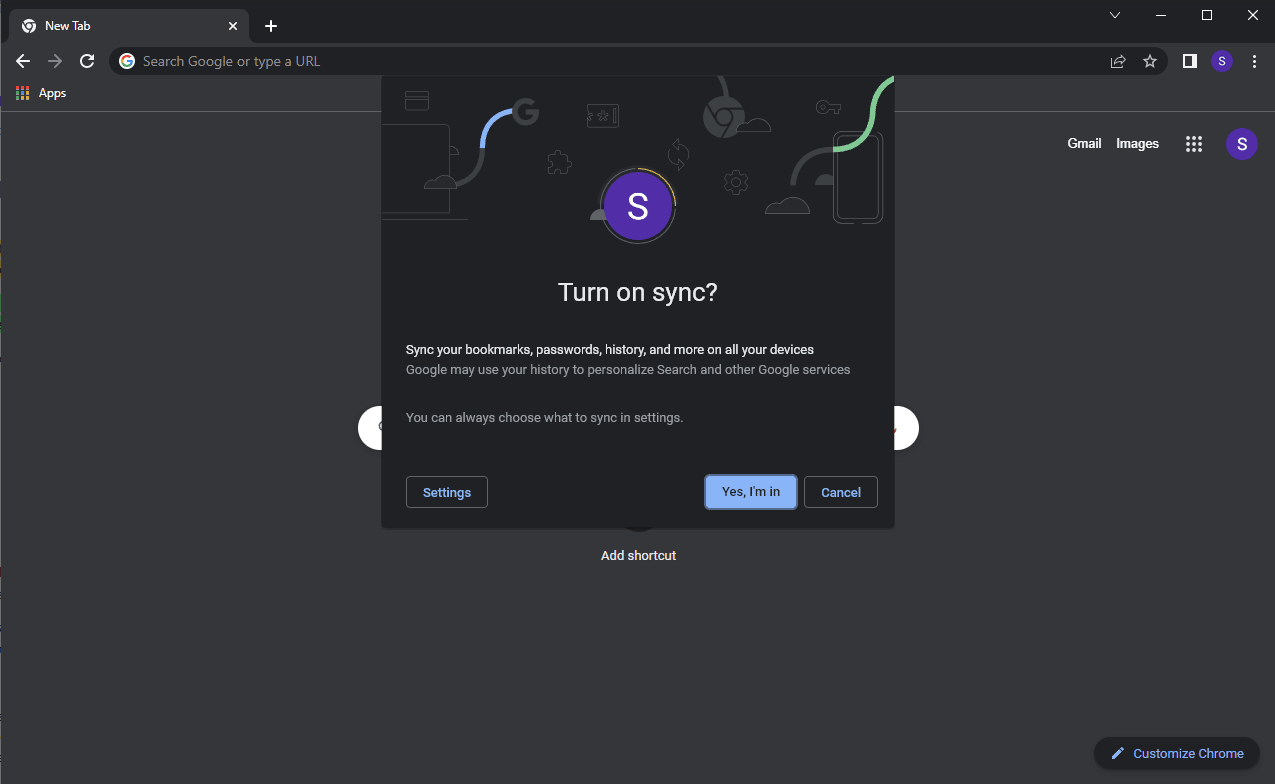
- enter your email and password,
- confirm by clicking “Yes, I’m in”.
Then repeat all these steps on another computer, and your tabs and extensions will automatically be copied to the browser on your new device.
Moving extensions using .crx files
If you want to transfer to someone else’s profile, you must pack the extensions on your first device into a folder and unpack them on your second device:
- launch Chrome on the first computer,
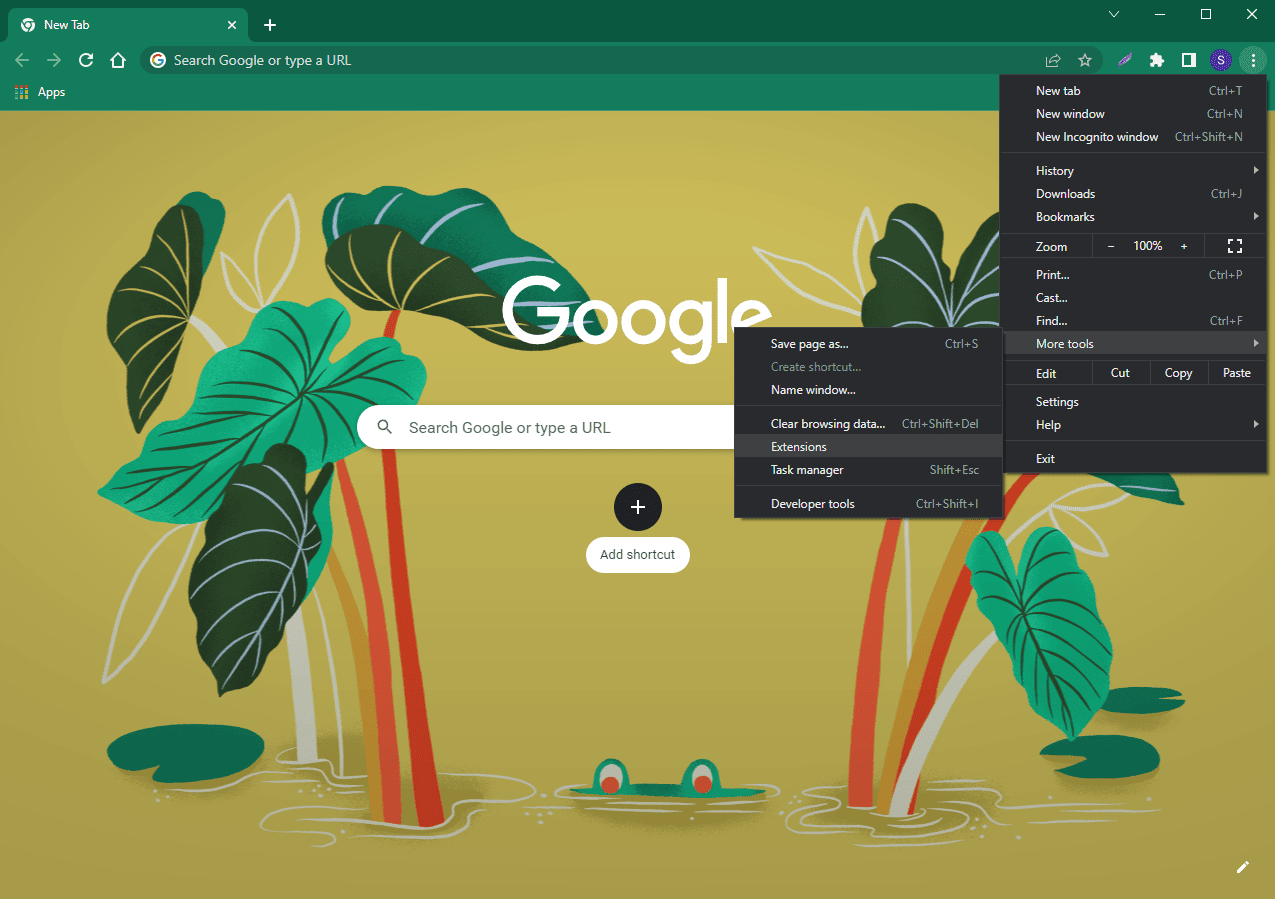
- click on the three dots in the top right corner,
- hover over “More tools” and select “Extensions”.
On the extensions page, flip the “Developer mode” switch, and pay attention to the extensions’ IDs.
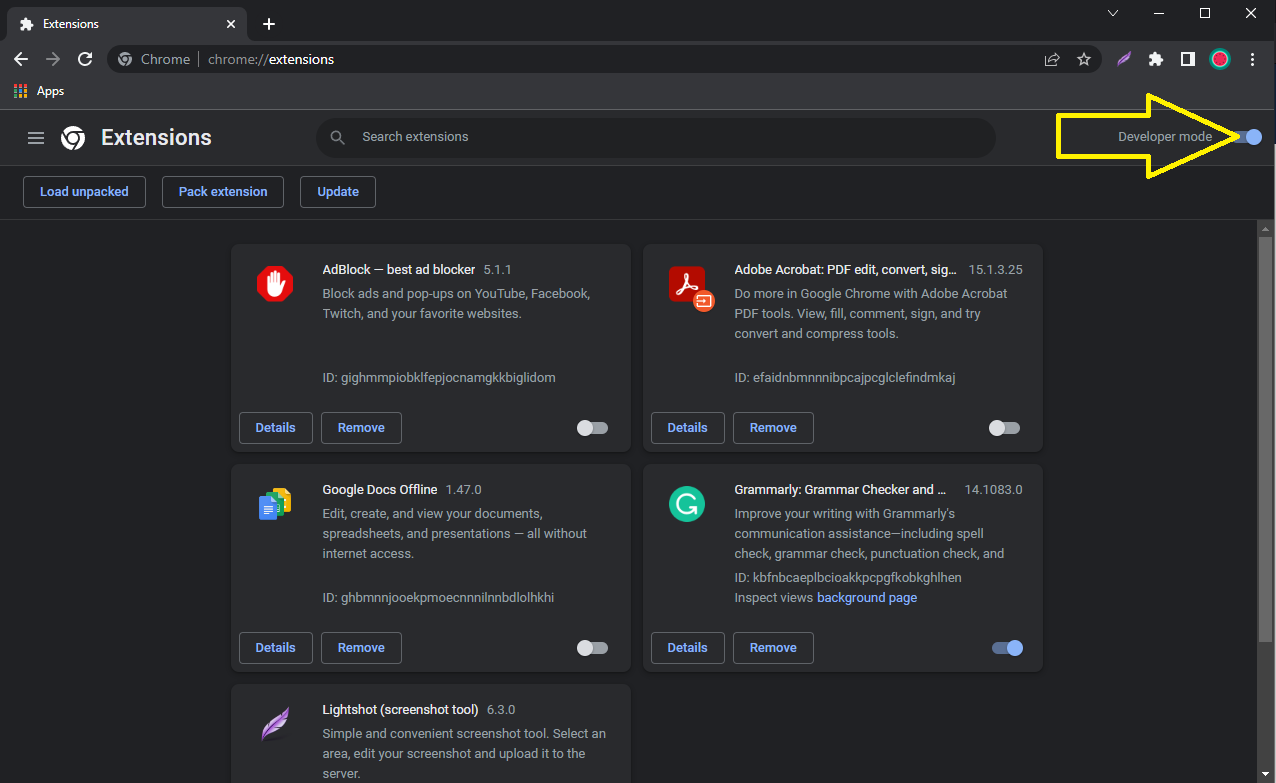
Now click the “Pack extension” button and locate the path to a certain extension:
- Local disk C:
- Users
- your username (Admin, for instance)
- AppData (this folder is hidden)*
- Local
- Chrome
- User Data
- Default
- Extensions
- extension ID

*To make hidden folders visible, go to the File Explorer (Win+E), open the View tab, and mark the “Hidden items” box.
Once the .crx file is generated:
- launch Chrome on the second computer
- go to chrome://extensions/
- drag and drop the .crx file
- wait for the extension to install
Repeat this sequence with all your extensions.


