For stable operation of Android applications on computers with the emulator, users try to install a new version of BlueStacks. Usually there are no problems with it, but sometimes it causes the “Latest version already installed” error. Let’s find out how to fix it.
How to fix the error
The healing process contains 4 steps:
- deleting BlueStacks registry keys,
- uninstalling BlueStacks,
- deleting BlueStacks leftover folders,
- deleting temporary files,
- reinstalling BlueStacks.
Most of the time, the very first step solves the problem.
Delete registry keys
Press Win+R to open the Run window, type regedit in it, and press OK.

Expand HKEY_LOCAL_MACHINE -> SOFTWARE, find BlueStacks entries, right-click on them and select Delete.
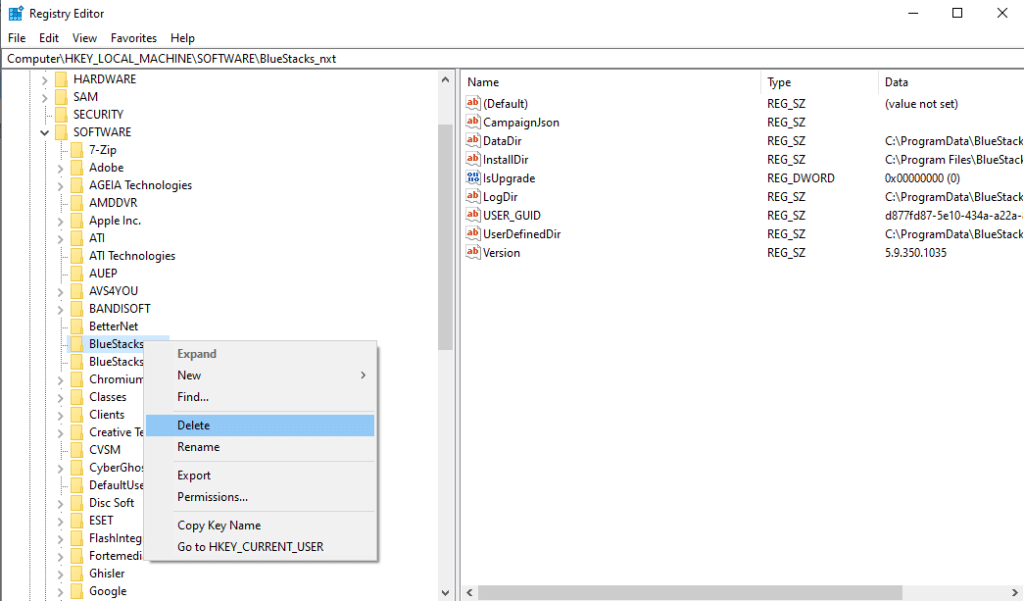
Close the registry editor, and reboot your computer.
Uninstall BlueStacks
If that didn’t help, proceed to uninstalling the emulator:
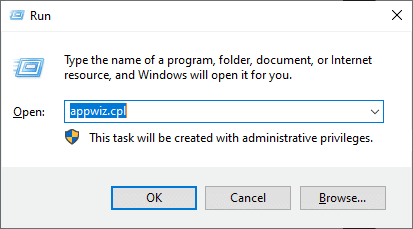
- press Win+R to open the Run window,
- type in appwiz.cpl and hit OK,
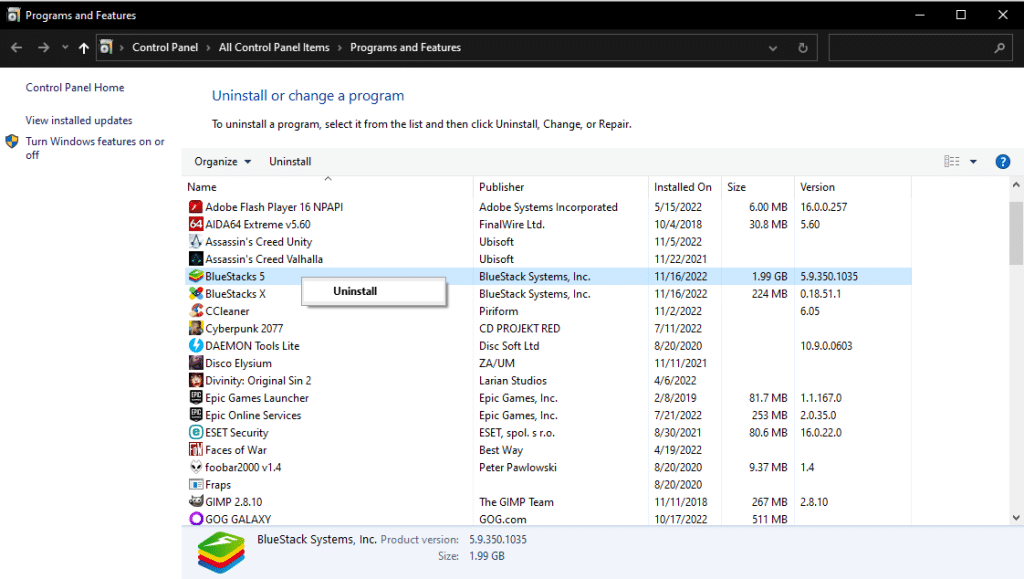
- find BlueStacks in the list,
- right-click on it, and press Uninstall.
Delete leftover folders
Some of those folders are hidden, so you need to make them visible in your file explorer first. How to do it in Windows File Explorer:
- press Win+E,
- open the View tab,
- check the Hidden items box.

Now, locate and delete the following folders:
- C:\Program Files (x86)\BlueStacks
- C:\ProgramData\BlueStacks
- C:\ProgramData\BlueStacks\Setup
Delete temporary files
In order to delete the temporary files:
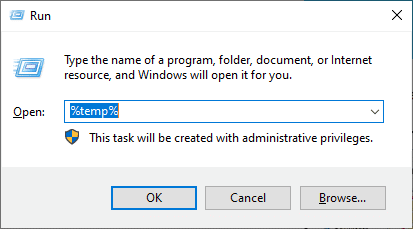
- Press Win+R to call up a Run window.
- Type in %temp%, and hit OK.
- Delete everything in the directory that opens.
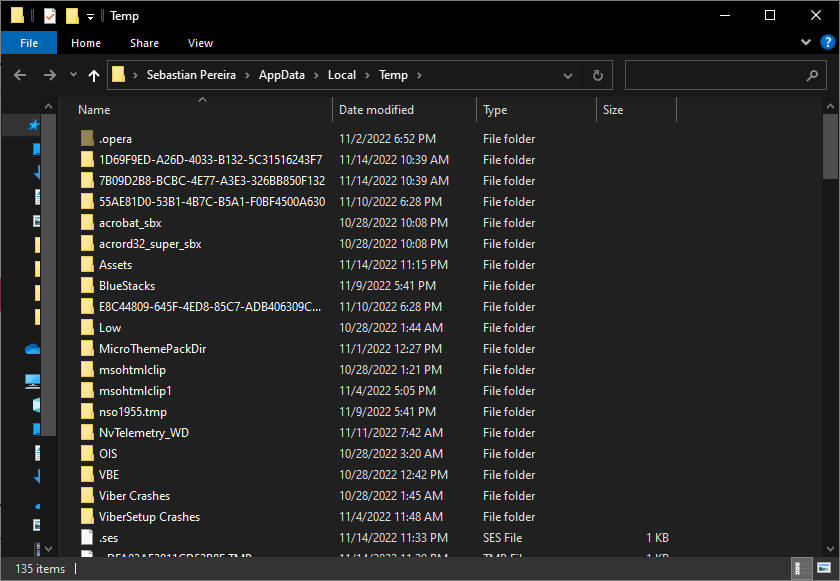
- Press Ctrl+A to select all folders and files there at once.
- Press Shift+Del to remove them completely.
Reinstall BlueStacks
Reboot your computer after all those steps. Download the latest version of BlueStacks from our website.
Run the installation file, click on “Install now”, and wait for the installation to complete.


