Updating BlueStacks is an important procedure for every emulator user. But not everyone knows why you need to update, and how to update BlueStacks to a new version. This article will answer all your questions.
Why update Bluestacks
It is necessary to update Bluestacks to the latest version at least because the newest build of the emulator allows you to access fresh features that have been added by the developers. In addition, updates fix a number of issues found in previous versions.
Updating BlueStacks
There are two ways to update BlueStacks to the latest version. Choose either automatic or manual option. Let’s look at how to use those methods.
Automatically
The easiest way to update BlueStacks to the latest build is through the app’s built-in function. The user just needs to make a few clicks in the program, and then the update to the latest version of BlueStacks will happen automatically.
You need to act according to the following instructions:
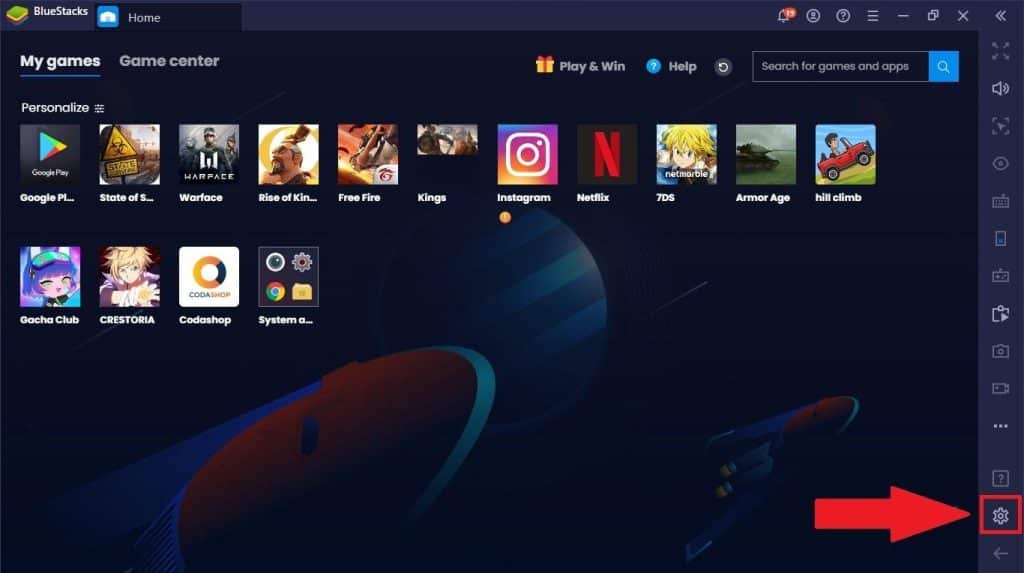
- Start the emulator.
- Click on the gear button to go to the settings.
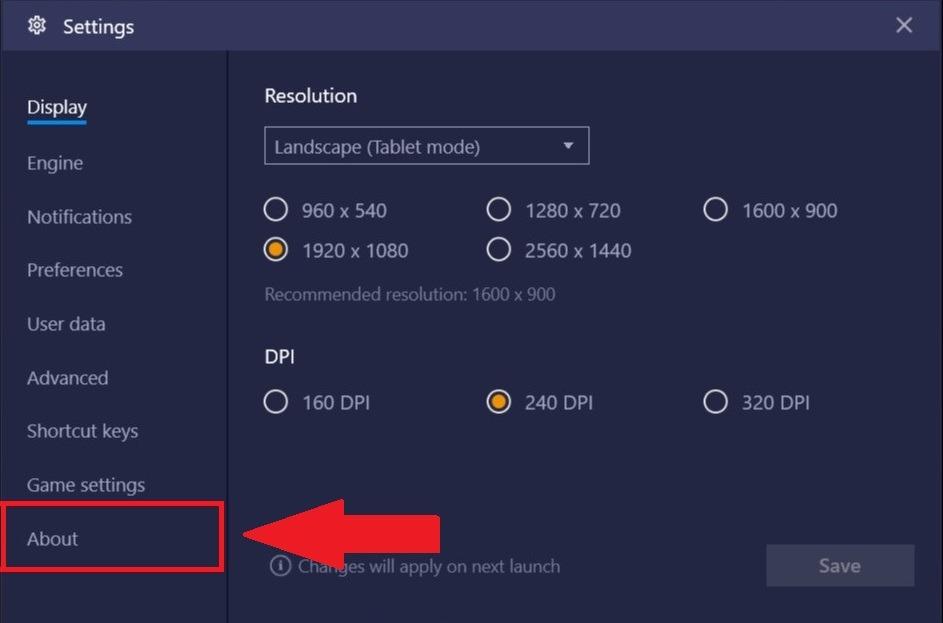
- Open the “About” tab.
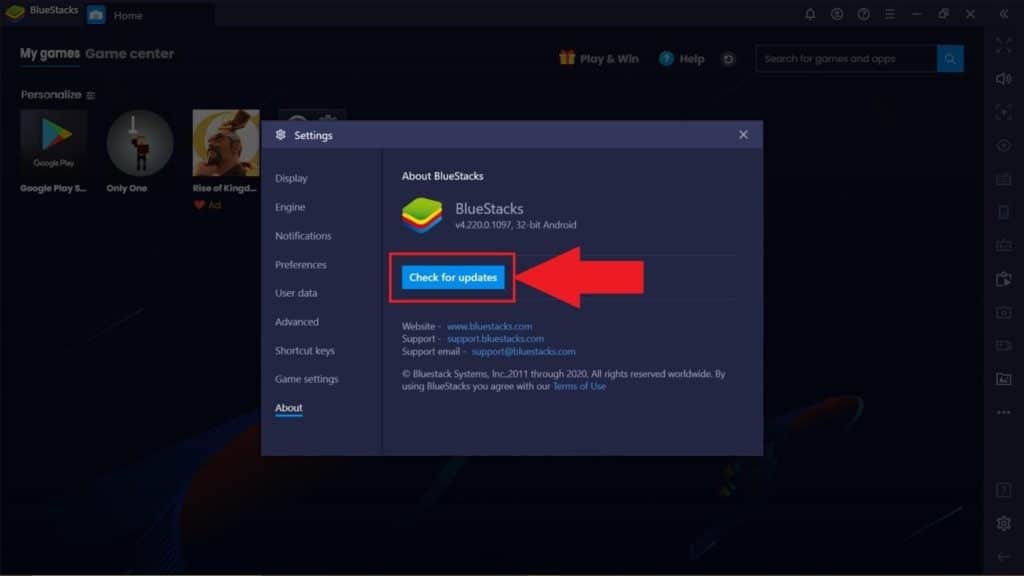
- Click “Check for updates”.
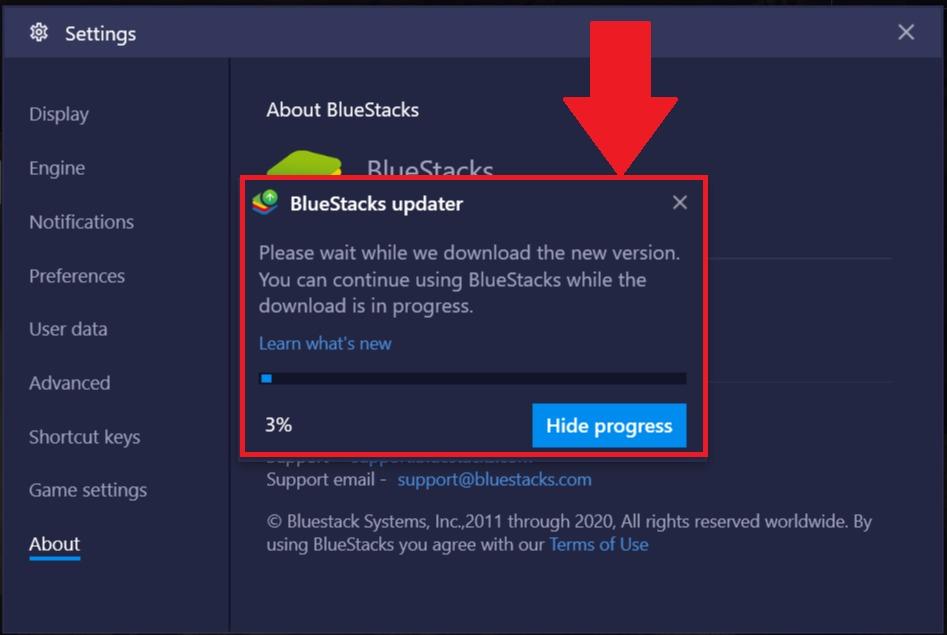
- Click the “Download update” button if it is detected.
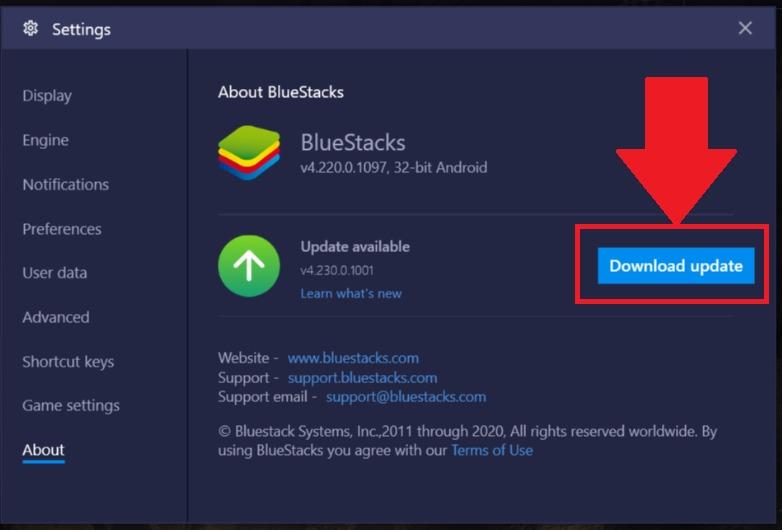
- Wait for the download to complete.
- Click the “Install Now” button.


As soon as you see the “Installation complete” message, press the big blue Launch button to run the updated version of the program.
Manually
The alternative way to update BlueStacks will require the user to perform more actions. However, the manual option is in many cases the only way. Especially when there are technical difficulties with the installation of updates.
To update BlueStacks manually, first you need to uninstall the old version (the one you’re using):
- In Windows 7 launch “Control Panel” in Windows 7 then go to “Programs” – “Uninstall a program”.
- In Windows 10/11 press “Start” – “Settings” – “Apps” – “Apps & features.”
- Find BlueStacks App Player in the list and click on it.
- Select “Uninstall” and confirm.

Then download the latest version of BlueStacks and install it. Run BlueStacks and log in to your Google account.
Is it possible to return the previous version
Some users want to get back to some older builds. Unfortunately, the possibility of rollback is not provided by the emulator developers. However, you can go another way.
Uninstall BlueStacks using the instruction provided in the previous paragraph. Then download one of the previous versions of the program from our site, and run its installation file.
Possible difficulties
In the process of updating BlueStacks to the latest version, users encounter various problems. The most common one is that the emulator can’t find updates. The reasons for such an error are the following:
- poor Internet connection,
- not enough disk space (you need at least 2-4 GB),
- the version installed on your computer is up to date.
If the version of BlueStacks installed on your PC is outdated, check for updates, or uninstall your current version and install a newer one.


