The process of uninstalling BlueStacks becomes very complicated if the user does not know how to perform the operation correctly. Many PC owners simply delete the program files manually, and it is not correct. To completely uninstall the emulator, you need to use the BlueStacks uninstaller, but not everyone knows where to find it.
Two ways to uninstall BlueStacks
You can uninstall the application the usual way, using standard Windows tools for it.
Or you can use the BSTcleaner utility tool. Let’s cover both methods.
Using Windows tools
To uninstall your current version of BlueStacks follow these steps:
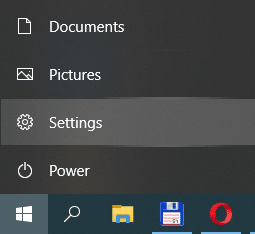
- Press the Start button in the bottom left corner of your Windows, and proceed to the Settings.
- Select “Apps.”

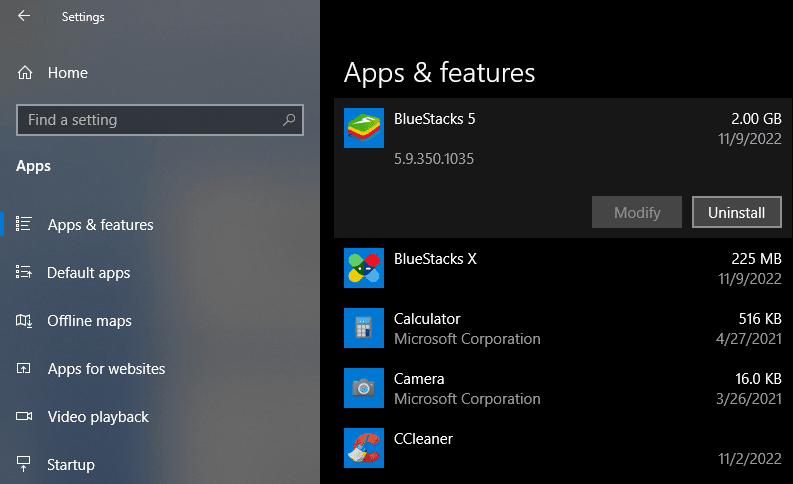
- Now, scroll the “Apps & features list” till you find BlueStacks.
- Left-click on it, and press “Uninstall.”
- When the uninstallation wizard appears, select one or many (or maybe none) reasons, why you want to uninstall BlueStacks, and press “Uninstall” again.

Same way you can uninstall BlueStacks X or BlueStacks Notification Center if they were previously installed on your computer.
Using BSTcleaner
In case BlueStacks won’t uninstall properly, or leave unwanted files behind, do the following:
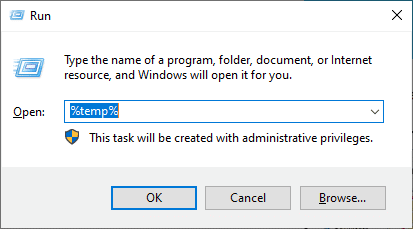
- Press Win+R to summon a Run window.
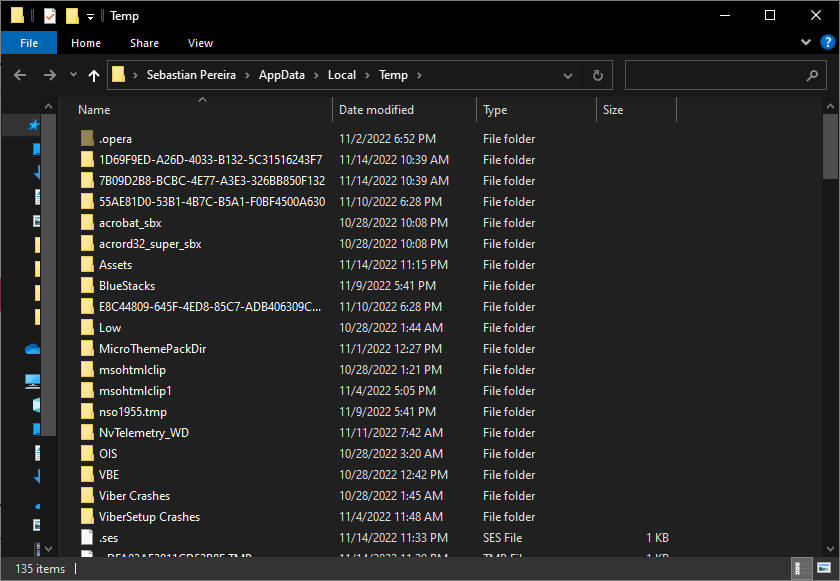
- Enter the query “%temp%” (without quotes), and hit OK.
- Delete all folders and files in the directory that opens.
- Download and install the additional utility BSTCleaner and then complete the removal process.
If you still can’t remove BlueStacks from your computer, then turn to the registry editor. This will require:
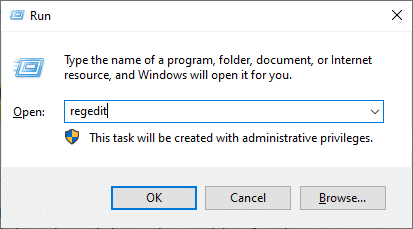
- Press Win+R again.
- Enter the query “regedit” (without quotes), and hit OK.
- Find the keys in the registry that contain “BlueStacks” in their names.
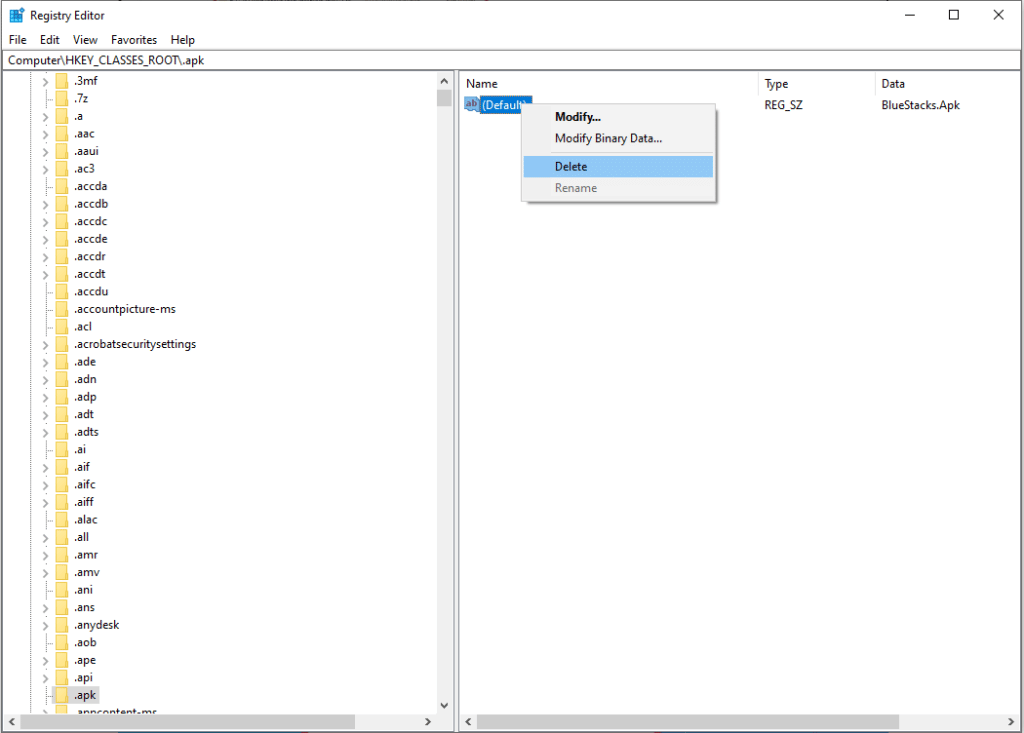
- Delete all found items.
Now no folder or file associated with the emulator should remain on your computer. BlueStacks has been completely erased from the device.


