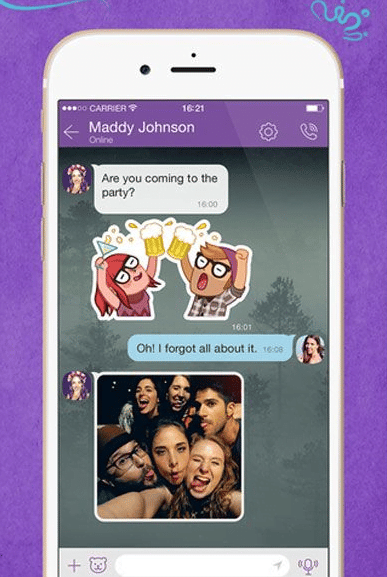
Viber is a well-known mobile application through which you can communicate with people who also have the application installed. The main advantage of Viber is its free use, where you can make unlimited calls, send messages and exchange files. Viber is not tied to your location, so when you communicate with people from another country or another mobile operator, you also save money on cellular communication. And that’s not all of the advantages of the Viber mobile app.
Sending photos via Viber
Despite the fact that the main function of the application is free calls and instant messages, all users are also able to exchange files in different formats. Such files can include:
- photos, images, various pictures,
- videos,
- documents and other files.
The most important thing is that when you exchange photos and other files via Viber, the original quality is not lost.
To send media files, just tap on the gallery icon at the bottom of the text field and select the object of interest. After that, it is sent immediately to the desired contact. This feature is absolutely free and there is no limit on the number of files you can send. You can select up to 20 files from your gallery and send them in one message. The recipient can saved the received photos or other files on the phone.
How to save photos
You can set up the saving feature on Android in two modes: save selected pictures manually or save all images automatically to your phone’s gallery.

Manually
This method is suitable for those who do not want to clutter their phone with hundreds of photos. Instead, you can select only important photos and save them on your phone, either in a separate folder called “Viber”, or in the general folder with all the photos. To perform this action, you need to:
- Tap on the photo you want to save.
- In the right corner you will see three buttons, you need to choose the one in the middle – the “Share” button.
- In the context menu select “Save to Gallery”.
- In a second the photo will be saved.
Saved photos can be edited, sent to other users, or modified using additional apps.
Automatically
If you don’t want to miss anything, you can set your photos to automatically save to your phone. To do this:
- At the bottom of the Viber’s home screen, tap on “More”.
- Proceed to “Settings”.
- Then in “Media and Storage”, enable “Save to gallery”.
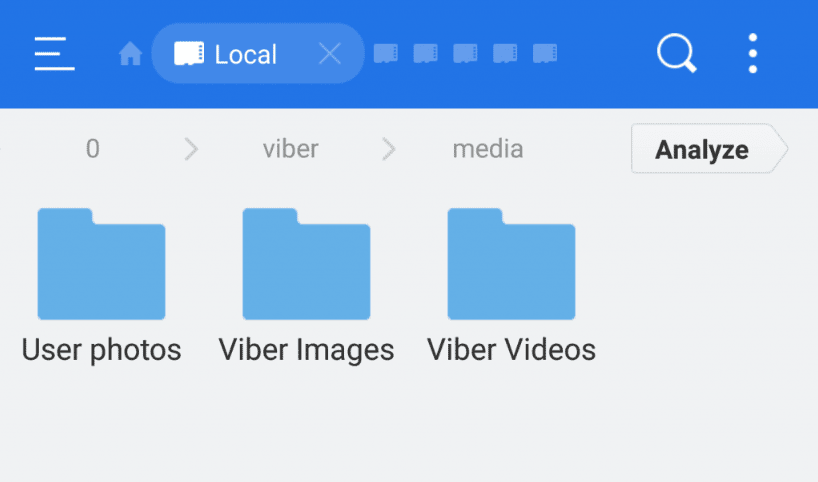
- After that, restart the messenger to update its settings, and subsequently all the photos sent to you will be saved on your phone in the folder “Viber Images”.

Saving a contact’s profile picture
If you like someone’s profile picture, you can save it on your phone. However, you’ll have to do a little bit of work here, as you can’t do it directly on Viber:
- Go from your phone to the “File Manager” system folder.
- In front of you will open a menu with several folders “Photos”, “Videos”, “Music” and so on. At the bottom you need to select “Internal Storage”, where information about the device memory usage is displayed.
- Next you will see a list of system folders, go to the folder “Android”, then “Data”.
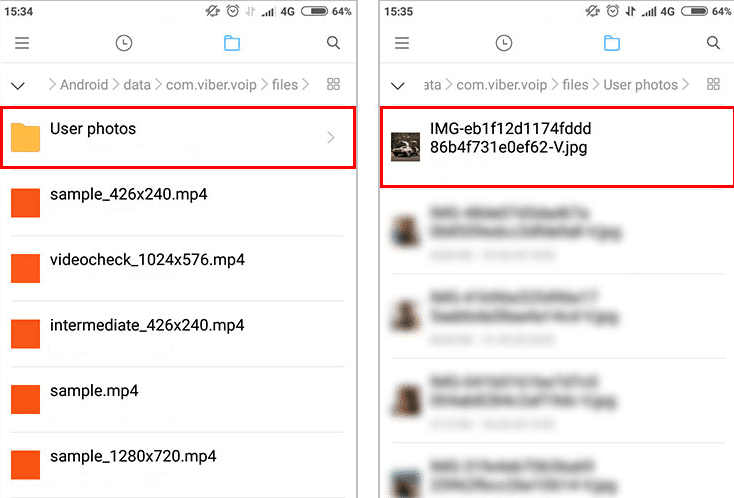
- Find the file “viber.voip”, then go to “Files” and “User photos”.
- You will see profile pictures of all Viber users from your contact book.

Choose the photo of a contact you want, and then just hold your finger on it for a few seconds. When the photo is highlighted, a toolbar will appear on the screen, where you need to tap on the list of available options (three dots). In the options presented, select “Copy”, and then the folder to which you want to save the photo. The best option is the folder on the memory card “DCIM”.
Possible problems and their solutions
Now let’s look at some difficulties you may encounter when setting up Viber and saving photos:
- There is no button “Save to Gallery” in “Settings” – “Media and Storage”.
It can be replaced by other options such as “Auto download media over mobile network” and “Auto download media when connected to Wi-Fi”.
- When saving a contact’s profile picture from the phone’s system folder, some users do not have the “Copy” option.
In this case, do the following. After selecting the photo, select the button “Share” on the toolbar and then tap on “Save to Favorites”. The contact’s photo will automatically appear in the gallery, in the “Favorites” folder.
- Photos are not saved.
There could be two reasons here – incorrect settings or simply your mobile device ran out of free memory, so you’ll need to clear the storage.
If mobile data transfer is limited, it is better to disable the option ” Auto download media over mobile network” in order not to exceed the limit.
Some of the auto saved photos may not be displayed in the gallery. This happens because of slow Internet, try connecting to Wi-Fi, it should fix the issue.


